Website Planning Tool
Service Page Planner
Use this tool to build one service page at a time. Fill it out in order, section by section.
This page is meant to help you use the Services Tool field by field. Start at the top and move down. Add clear first-pass inputs for one specific service page.
Before You Start
Pick one real service page
- Use this tool for one service, not a whole category.
- Write for the person who would land on that page first.
- Focus on clarity before polish.
- Move through the fields in order from top to bottom.
Step 1
Add the hero content first
Start with the top of the page. Add the service eyebrow, title, intro paragraph, and hero background image.

- Hero Eyebrow: Add a short context line above the title.
- Hero Title: Add the actual service name.
- Hero Paragraph: Add 1 to 3 sentences explaining what the service is and why it matters.
- Hero Background Image: Choose an image from the WordPress media library that matches the actual task described in the copy.


Step 2
Add the CTA labels and links
These fields tell the visitor what to do next after reading the hero.
- Primary CTA Label: Add the main action you want someone to take.
- Primary CTA URL: Link that action to the correct page or booking path.
- Secondary CTA Label: Add a lower-pressure secondary option.
- Secondary CTA URL: Link it to a useful supporting page.


Step 3
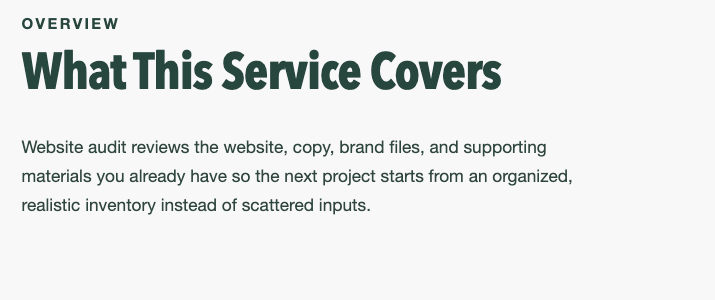
Write the overview section
This is where you explain what the service actually covers.
- Overview Heading: Add a simple heading for the section.
- Overview Text: Add a short paragraph explaining what is included, what gets reviewed, or what the client can expect.

Step 4
Add the practical service details
These fields help set expectations and make the page feel more grounded.
- Timeline: Add the expected turnaround or time range.
- Delivery Mode: Add how the work is delivered.
- Platform / Stack: Add what system or environment the service applies to.
- Engagement Type: Add the type of scope or working relationship this service fits.

Step 5
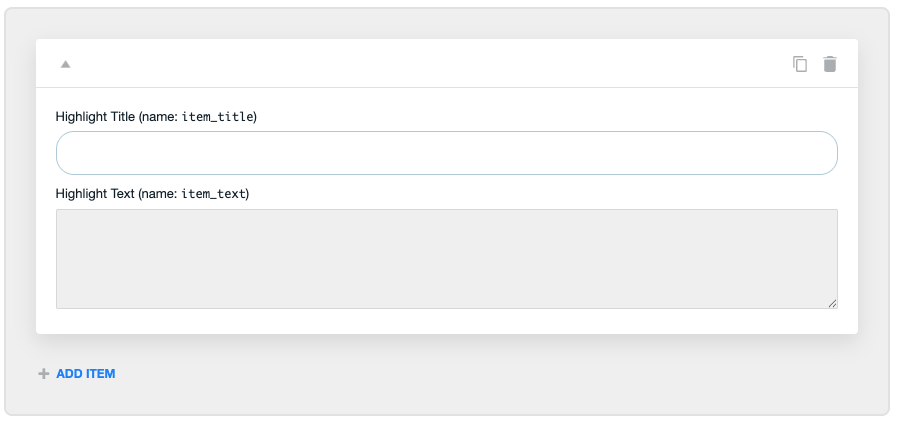
Build the highlights section
This is where you list what is included, what gets reviewed, or what the client receives.
- Highlights Heading: Add the section heading.
- Highlight Title: Add one clear included item.
- Highlight Text: Add one short explanation of that item.

Step 6
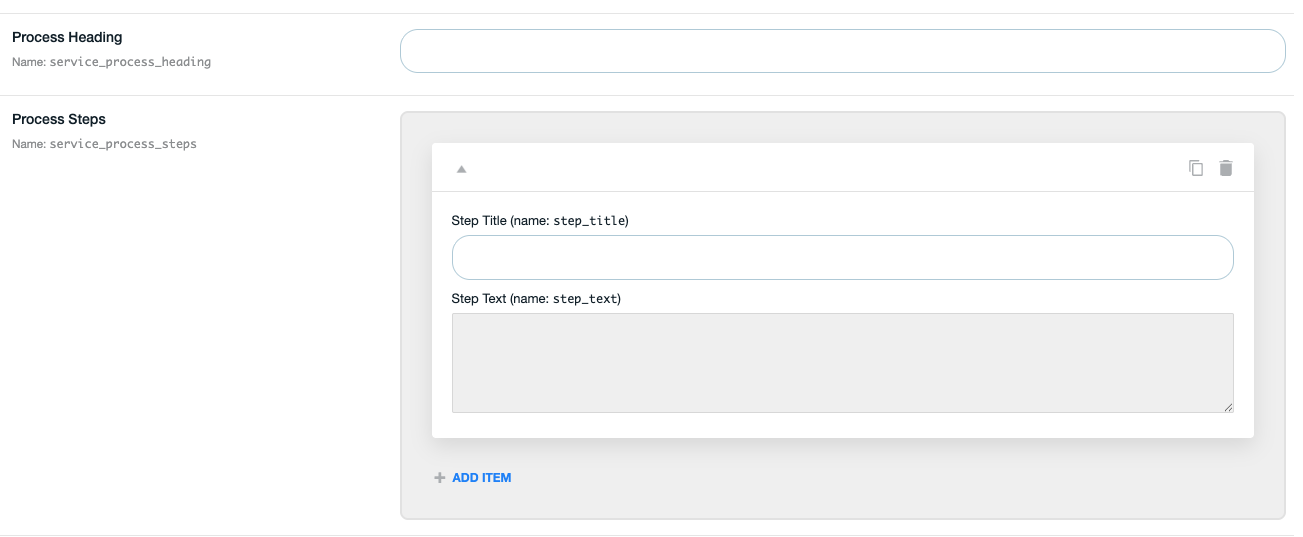
Add the process steps
This section explains how the service works from start to finish.
- Process Heading: Add the heading for the section.
- Step Title: Add the name of one stage in the process.
- Step Text: Add a short description of what happens in that stage.
Step 7
Finish with the booking and service settings
These final fields support how the service is categorized, booked, and surfaced inside the site.
- Booking Note: Add a short note that helps someone understand when or why to book.
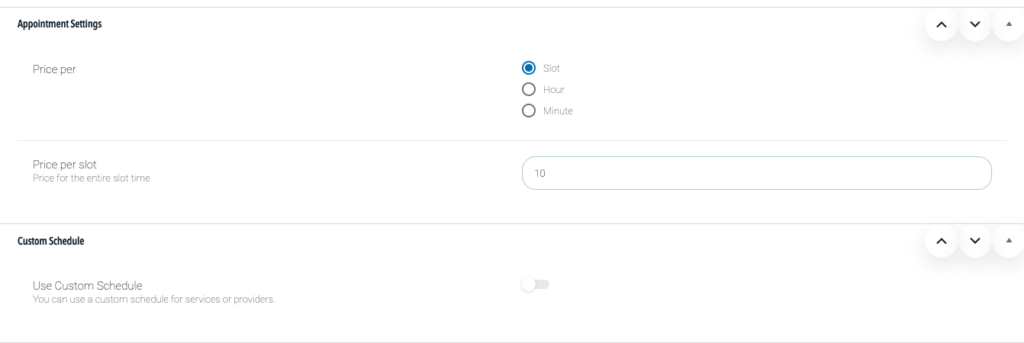
- Appointment Settings: Add booking price and scheduling setup if the service is tied to an appointment.
- Related Provider: Assign the provider connected to the service.
- Homepage Spotlight: Turn this on only if the service should be featured on the homepage.
- Service Buckets: Add the correct service category tag.

After You Fill It Out
Use the output as the starting structure for the page
Once these fields are filled in, you should have a clear first-pass structure for the service page. From there, the page can be refined, edited for SEO, and built more confidently.